Installation
Manual installation
- Linux / macOS
- Windows
Make a backup of your current Neovim files:
# required
mv ~/.config/nvim{,.bak}

# optional but recommended
mv ~/.local/share/nvim{,.bak}
mv ~/.local/state/nvim{,.bak}
mv ~/.cache/nvim{,.bak}
Clone the starter
git clone https://github.com/okivim/okivim ~/.config/nvim
Remove the .git folder, so you can add it to your own repo later
rm -rf ~/.config/nvim/.git
Start Neovim!
nvim
Make a backup of your current Neovim files:
# required
Move-Item $env:LOCALAPPDATA\nvim $env:LOCALAPPDATA\nvim.bak

# optional but recommended
Move-Item $env:LOCALAPPDATA\nvim-data $env:LOCALAPPDATA\nvim-data.bak
Clone the starter
git clone https://github.com/okivim/okivim $env:LOCALAPPDATA\nvim
Remove the .git folder, so you can add it to your own repo later
Remove-Item $env:LOCALAPPDATA\nvim\.git -Recurse -Force
Start Neovim!
nvim
Okivim installer
Linux / MacOS / Windows
You can now easily install Okivim using our installer.
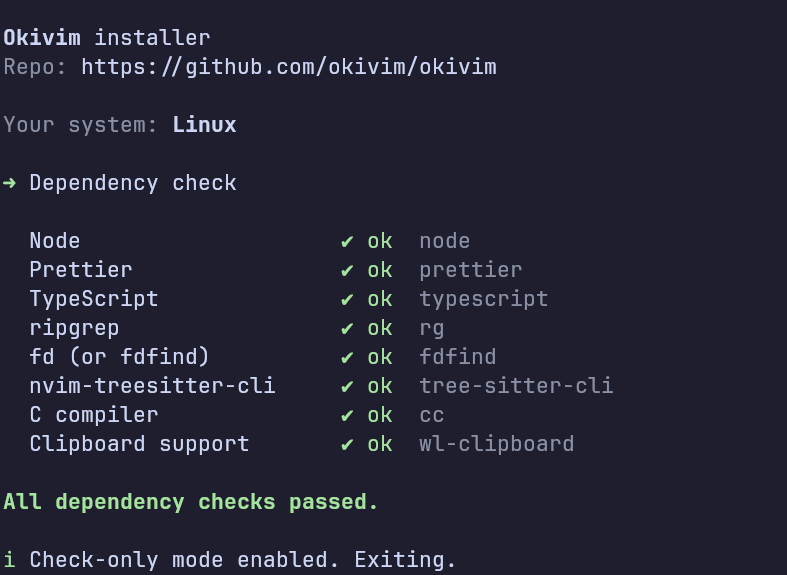
The installer checks are informational and help you identify which dependencies are missing. Instructions on how to install these dependencies can be found in Getting Started → Dependencies.
info
The installer does not install dependencies; it only creates a backup of your current configuration and installs the Okivim configuration.